Monday, January 23, 2012

COPIC TECHNIQUE CLASS WITH JULIE


This year I am happy to announce a New Class to our timetable in store at Creations in Paper.

I'm still working out a few minor details but this class is going to be more of a Copic Marker Techniques Class.

Now that most of you have started building your Copic Marker Collection, we want to teach you about getting the most out of your Copic Markers with learning new tips and techniques to keep you interested!

In some classes we may just spend the time colouring in images and other times we may actaully make cards, so the pricing for the type of Class will reflect this.

You will be required to bring along your own Copic Markers for these classes and please remember that this is not a Copic Beginner Class.

Although this Class is suitable for all levels, it is preferred that you have already been using Copic Markers.

If there is anything in particular you would like to learn about with your Copic, be sure to let me know!

JANURAY/FEBRUARY CLASSES
Saturday 28th January | Saturday 11th February from 12 - 3 | $20.00

Wednesday 22nd February from 12.30 - 3.30 | $20.00

This month we will be making 2 cards.
They are quite simple in design but we will be focusing on Colouring Skin tones and Hair.

They are themed around Valentine's Day but certainly not limited for this occasion.

These cards are on display in store now if you want to see more detail.

The papers are from My Mind's Eye "Love Me" Collection and the Stamps are from Gor Juss and Pure Innocence.

You will receive this class in Kit Form, so everything is included in the cost.

Bookings are Essential and Copic Markers are required.

Each person is required to supply their own Basic Tool Kit which should include: 12" Paper Trimmer, Scissors, glue/double sided tape, faom tape/dots, Ruler, pencil, eraser, etc.

For Bookings please call Creations in Paper on 5479 6686

Thanks...Jules

Sunday, January 15, 2012

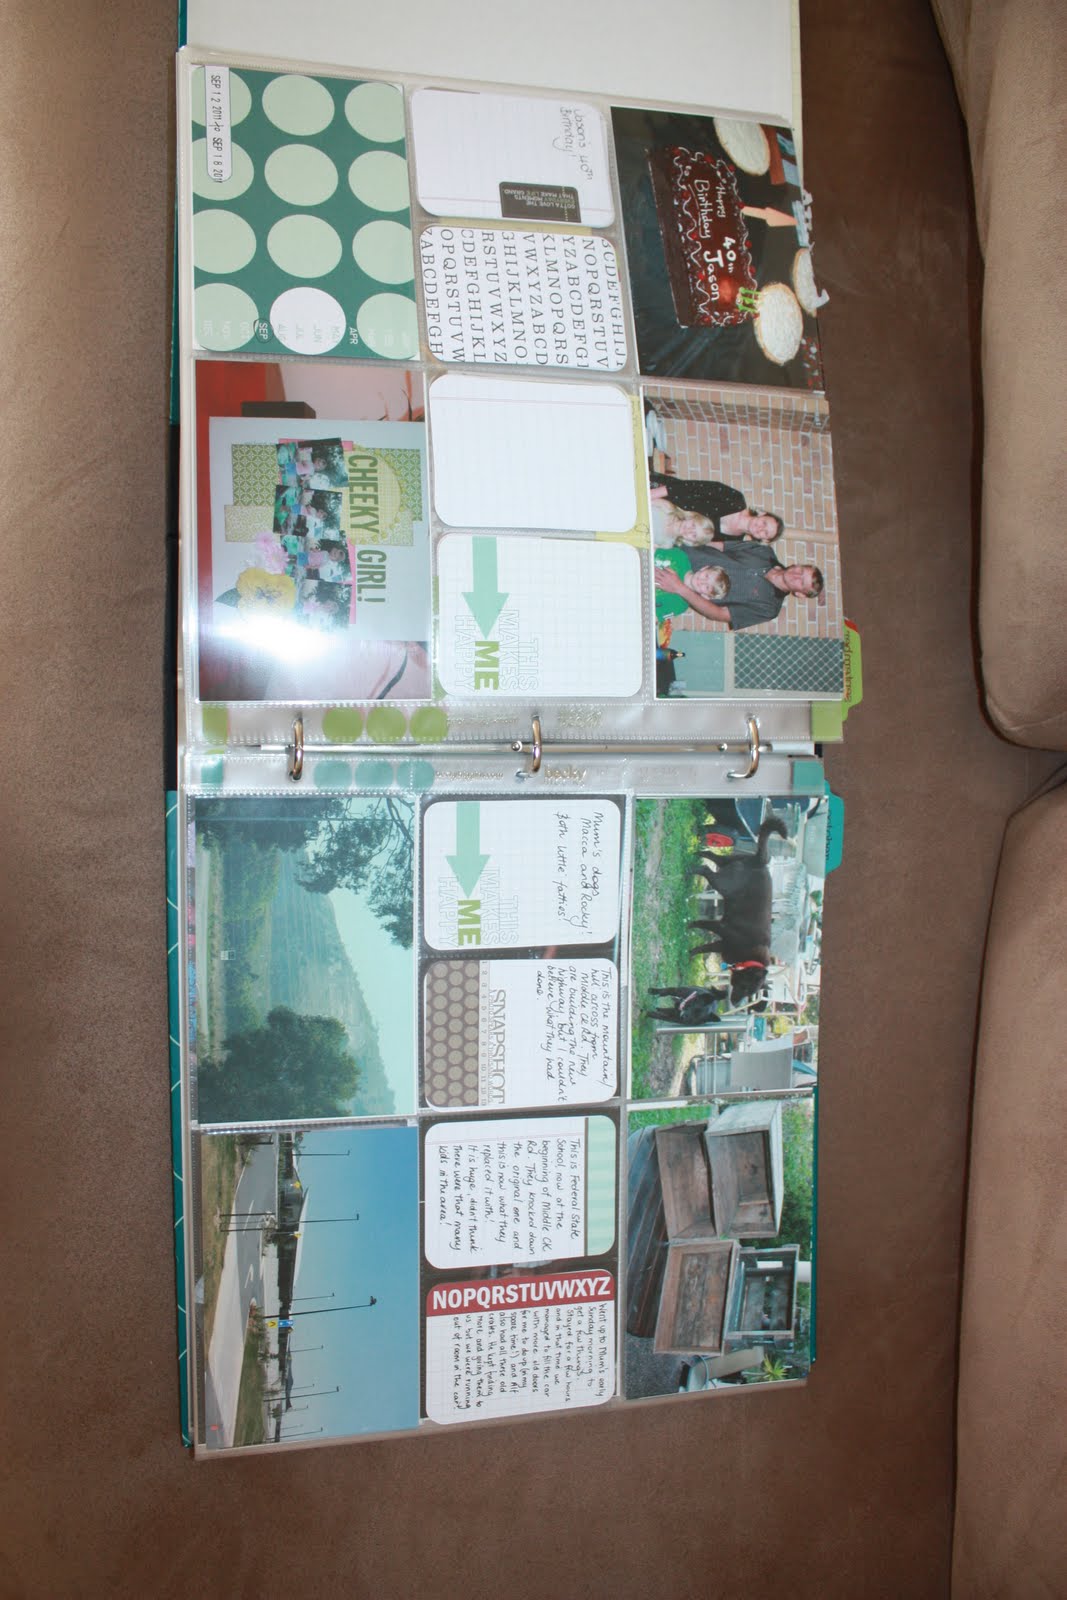
Project Life 2012

My Project Life 2012 finally arrived!

I had been waiting paitently for it but when it didn't arrive just after Christmas I emailed them asking if they could give me an update but then only to find out that it hadn't even been shipped yet and that my order must have been misplaced as orders either side had already been shipped and received! Anyway, I got an email to say it would be shipped straight away and anyway, it arrived here last week..finally!

For my 2012 Project Life I decided to just order the Core Kit, Page Protectors and a pack of the 12x12 Pattern Paper in the Clementine Collection.
Although I loved the album from last years kit, I found that because I added extra sections to it and sometimes more photos than just a weeks worth, it is quite full and kind of overflowing and to spread it out I would have had to get another album the same and I didn't want to do that. So with that in mind, I have decided to just used 2 black albums that I had at the shop and this way I can spread out the year over the 2 albums if needed.


I ordered a pack of 60 Mixed Page Protectors so instead of having the same layout through out the whole album like last year, it will mix it up and keep it interesting(hopefully)I have already gone and sorted out the layout in my album (but I can always change it) As there were 60 page protectors, 6 designs - 10 of each, I have spread them out throught the entire album and have gone and added my core element cards, etc

This is my title page that I have kind of started but obviously I still need to add photos! (I'm already 3 weeks behind!)


Like last year's Project Life I have decided to go with the weekly set up which I must admit at the time thought it was going to be hard to try and take photos nearly every day, but as I look back at my 2011 Project Life Album (sure some weeks are busier than others and I have a few gaps here and there) but it made me more aware of taking photos and for most of us these days we always have access to a camera, weather it is your iphone, mobile, camera, etc.


So while I had been waiting for my order to arrive I had a bit of a clean up in my craft room and went on the hunt for suitable items that I thought I could use in this years Project Life Album (mostly flat items such as embellishments, rub ons, stickers, etc) I'm sure that if you went looking through your stash you could certainly find stuff to use without having to go and buy more...but there are a few new items I purchased late last year with Project Life in mind.


I have been following Becky's Blog and reading all the updates and seeing all the different styles that people are doing this year. Also this year there is a Creative Design team so you can go and see what wach of them are doing with their Project Life Albums to keep you motivated.

So, I am organised to start Project Life 2012... I can now start adding my photos (just have to get them printed) and journalling. I have a diary that I have already starting jotting down daily events so I don't forget events and happenings.

Thanks...Jules x

Girls with Attitude...

During the week I finally got around to making some cards. The images I used on these are from Kenny K downloads (www.kennykdownloads.com) the 3 I have used are Brooklyn Babe, All That and Troublemaker. There are heaps of images to choose from, go and check them out. These are Digi Images but I have seen that you can now get some of them in rubber.

I have always been a fan of these images, I love the attutide of these girls and they are so suited to teenage girls (they certainly remind me of a few that I know!) but if you're looking for something different they certainly have that too!

As usual they are all coloured with Copic Markers (I coloured these ages ago but never made them into cards)on XPress It Copic Cardstock.

The design and style on all 3 cards below are really simple. I used a assortment of pattern papers from my stash of 6x6 paper pads that is growing all the time as there are so many beautiful papers around and I love the 6x6 size which is so handy and in perfect poportion for making cards and the fact that you get the whole range and it all matches.

Clearly I am a fan of "dot paper" but again I think this is because of the 6x6 paper pads and the size they are in these.
Sometimes I wish the 12x12 papers would be made with the images the size that they are on a 6x6 (sometimes you want more then the 2 pages and not want to have to buy another pad)

Anyway, below are my 3 cards that I made, simple designs, but nice and bright!


Thanks...Jules x

Monday, January 02, 2012

last birthday card for 2011...

This was my final card that I made for 2011...

I made this birthday card for a good friend (Wendy) who's birthday was on the 23rd of December. We all went out for dinner the celebrate and a final catch up before Christmas!

You may remember from one of my previous posts, I recently learnt how to make the Twisted Easel Cards (Sharon taught this in December Advanced Class)and I love them, very simple to make but so effective, so while on a roll...

Back to the details of the card:
Cardstock: XPress It Copic Cardstock, Couture Cardstock
Pattern Papers: My Mind's Eye - Lost and Found Two Collection
Stamps: new stamps from the latest Magnolia Stamp Club and Lily of the Valley
Colour Medium: Copic Markers
Inks: Memento Black, Close to Cocoa
Embellishments: Assorted flowers from Magnolia and Wild Orchid Crafts, pearls (coloured with Copics to match) Assorted Nestabilities and sewing


thanks for stopping by...Jules x

Monday, December 19, 2011

Project Life Update...

If you've been to my blog before then you may have read about Becky Higgin's Project Life
I first read about Project Life at the end of last year, thought it was a great idea, ordered myself a kit and the rest is history!

For me, I saw it as a way to keep taking photo's without the stress of actually getting these photos onto pages and then into Albums. I'm already so far behind with my Scrapbooking (3 overseas trips and probably 5 years worth sitting on the computer)and I love that Project Life simplifies the way I can now Scrapbook!

I am very proud of myself that I have been able to keep up with it throughout the whole year. I decided to do my album as a Weekly theme, which I must admit was sometimes hard at times to do as obviously some weeks we had more going on that others.

I did fall a little bit behind in the middle of the year, but by keeping a journal and adding post it notes to weekly pages, it was very easy to get caught up (if you look closely at the pictures you will see the post it notes scattered throughout) I just jotted down in point format events that happened that week and so when I had printed my photos out it was easy to know where the photos had to go.

I have always been very slack at journalling, even when I did scrapbook so I do have lots of journalling to catch up on. I'm looking forward to doing this over the Christmas Holidays, so that I am all caught up by the end of the year and ready to start 2012!

Most of the photos in my Project Life album are of things to do with the shop but for me, this has been a huge part of my life this year!

By doing Project Life throughout the year, it has made me take alot more photos of our everyday life and things that we usually take for granted or wouldn't necessarily think to photograph.
I did a rough count the other day and up until last week, I had over 450 photos that are in my 2011 Project Life Album. That's over 450 Photos that would probably still be sitting on the computer, unprinted!

So, when the Project Life Kits for 2012 were announced, I had to get mine!

The only place you can order your Project Life Kits and accessories (for Australian and New Zealand customer) is Craft House in New Zealand.
They have just received their huge order and are shipping this coming week, so fingers crossed it arrives in time to go under the tree!


Not sure what happend to some of the photos, but you get the general idea.
Thanks...Jules x

Sunday, December 18, 2011

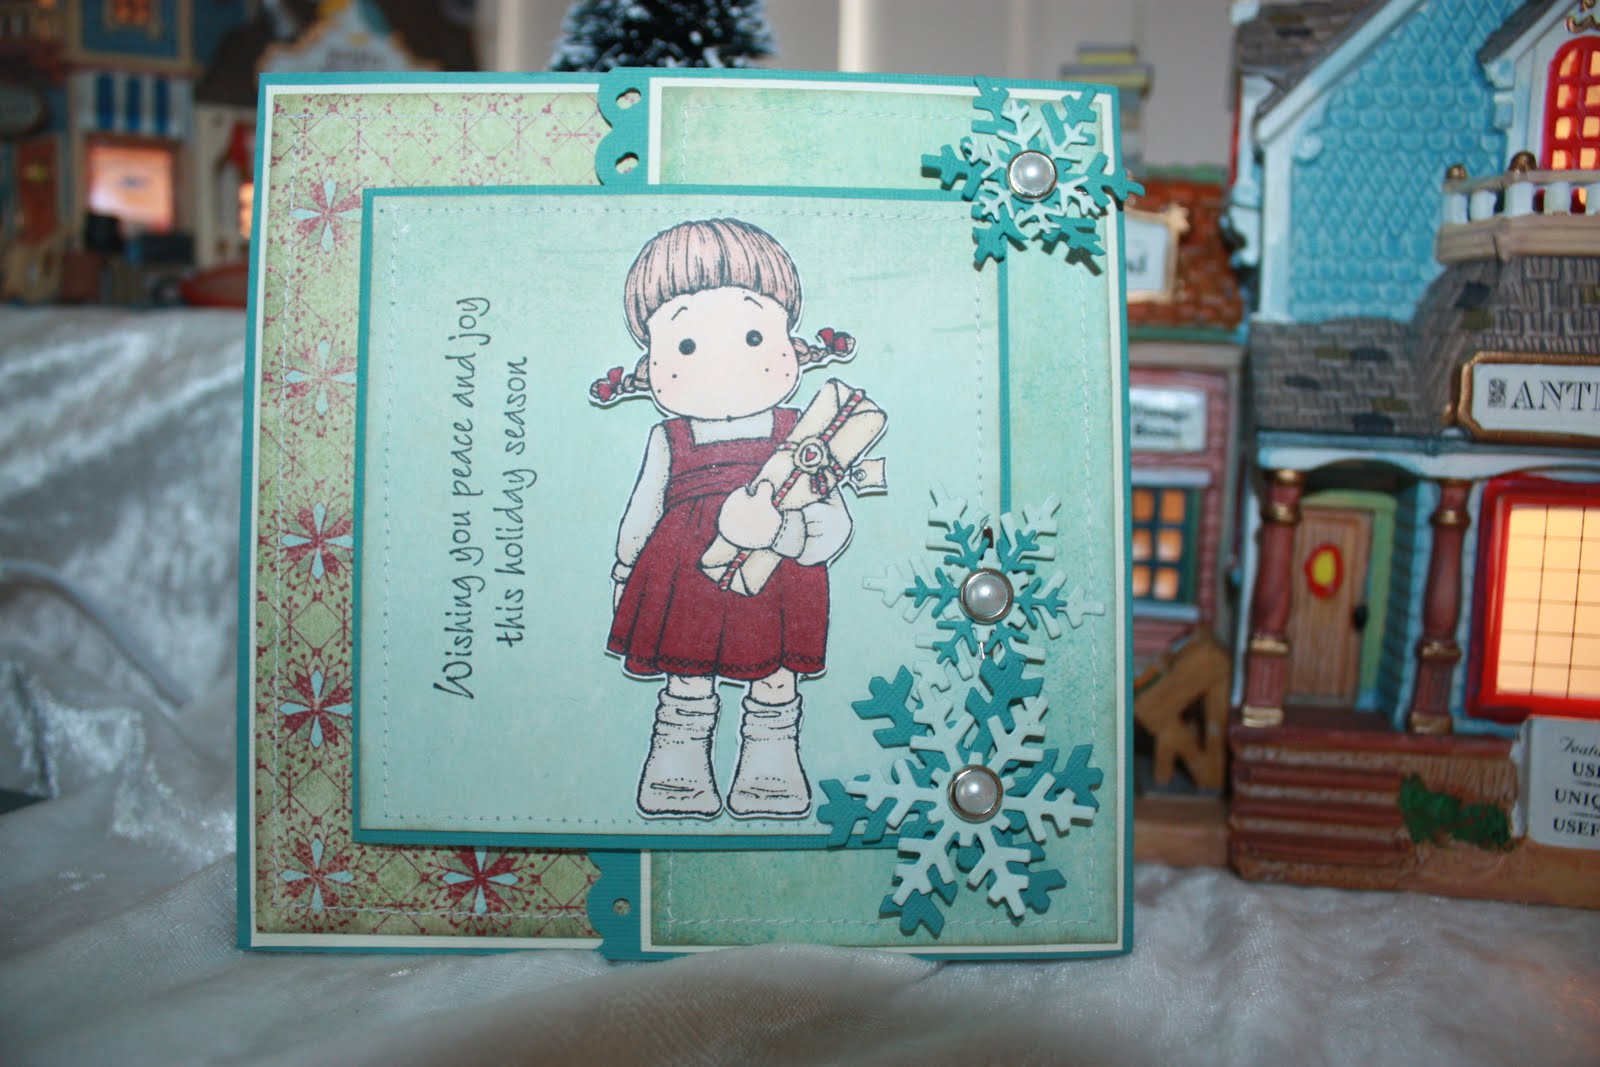
More Christmas Cards...

I have finally finished and posted all my Christmas Cards for 2011 (I still have a few cards to hand deliver to family and friends this week) but apart from that, all done!
This year I wanted to make all my Christmas cards that had hand coloured images on them, since there are so many beautiful christmas stamps available.
I ended up making over 30 cards, although this is not as many as I have made in past years but still I was impressed with myself that I managed to make that many (and all coloured with Copics)
So below are the rest of my cards that have been sent, hopefully everyone likes there Christmas Cards this year!


Thanks...Jules x
Monday, December 12, 2011

Christmas Cards 2011

I finally got around to making my Christmas Cards over the past few weeks (as usual I left it till the last minute)

These first 4 cards are from Sharon's Advanced Card Classes that she has taught in store (I was lucky enough to get to sit in on these class and make them also, so at least that was 4 done and it certainly inspired me to make the rest of them) I cheated a bit by using the base designs that Sharon taught on most of them! Thanks Sharon xx


Thanks for stopping by....Jules

Wednesday, November 09, 2011

Christmas Snow Dome

Here is another little project that I have been working on over the past week.

This is not my original idea(I saw it some where on someone's blog and I apologise that I couldn't find it to put a link back to them)

I purchased the Dome (fish bowl) and the tin from the junk shop.
The tin I covered with pattern paper from Fancy Pant's Design "Saint Nick" Collection, which I am loving and using it every chance I get!

The Christmas Tree's I purchased from The Christmas Shop a few months ago and are in a pack of 21, in all different sizes (I have used the 2 middle sizes)

The lights on the tree are some that I purchased years and years ago and have never used, but now I want more and haven't seen them any where (that's what usually happens!) I made the 2 little presents and the shopping bag!

The ground is covered with white Flower Soft to give the look of snow!

I have used 2 Magnolia Stamps that I have coloured with my Copic Markers.

Once I placed the dome over the scene it looked unfinished, so I have added some white tulle and added some silver bells that I have dipped into glitter.

The berry spray was from a wreath that I purchaed and pulled apart, so I have been using this on heaps of different projects.


I am entering this into the following Challanges:
Maggie Lovers Challange
Christmas anything but a card
Magnolia Stamp Lovers Christmas Challange


Hope you like it..thanks Jules

Thursday, November 03, 2011

Merry Christmas Advent Calender


Here's a little project I have been working on over the past few week. It's kinda of a Advent Calender but not really!
I have coloured all 24 Magnolia Images with Copic Markers and no, all the Magnolia Christmas Stamps don't belong to me, some were borrowed.
The beautiful papers are from Fancy Pants Design, Saint Nick Collection which I am totally loving the colours in this collection.

I cut the numbers and Merry Christmas with my Cricut Machine and the berries were from a wreath that I purchased and then pulled apart. I added some extra vines pieces from Petaloo.

I was really happy with how this project turned out, noe aI just need to find a spot to hang it!


I have entered my project in the following challange: Christmas is Coming through Just Magnolia and Hanglar and Stanglar

Thanks...Jules

Wednesday, November 02, 2011

Happy Birthday Deb...

Here is my Birthday Card that I have made for my little sister Debbie, who's birthday is on Friday.

I've used some new papers that just arrived in store at Creations in Paper from an Australian Company called La La Designs (no, not the stamps) but a invitation store!

I used a Magnolia Stamp "Tilda with Balloon" which I coloured in with my Copic Markers in softer colours to suit the papers.
I've poked a little tag in the side that pulls out and says "Just for You on your Birthday" which I used a old SU rubon that I had in my stash.

The flowers in the corner are from Wild Orchid Crafts and I have used some pale yellow ruffled ribbon from Maya Road.


Let's hope that she likes it!
Thanks...Jules

LinkWithin

Related Posts with Thumbnails