Thursday, January 20, 2011

My challenge should I accept....

A few weeks ago, one of my regular customers who I have made quite a few projects for her daughter's kindergarten class over the past year came in and asked me to make some Birthday Invitations for her daughter Lauren who's turning 4.

When I asked what she had in mind!! she said that she had asked Lauren earlier and her response was.... had to have trianlges...favourite colour is green...and it must have a Seal on it !!

Right!! .. a Seal???

Story behind the Seal is that for her birthday she is getting a very special kiss on the cheek from a Seal at Under Water World (I think), so it all made sense!! Kinda!

So I told her to leave it with me and let me see if I can come up with anything..
so below is what I made using all the things Lauren requested.

A Birthday Invitation with a Green Trianagle with a Seal on it! simple!


The Seal came from October Afternoon's Seaside Collection Stamp Set which I happened to have on the shef!! Lucky!! the ball idea I came up with.
The 3rd panel (which I didn't take a photo) is where they will write on the details of the party.

When they came in to see the sample, Lauren was really impressed! Let's hope the other 25 kids like them also!

Thanks...Jules

Monday, January 10, 2011

Birthday Card and Mojo Monday Challange 172

I've been a huge fan of Mojo Monday's for a few years now, but I've never submitted a card before and most weeks I'm never organised enough to actually get them done in time before the challenge actually finishes.

I save each week's image and when I get a chance I go back and actually do them. But this week I was organised!! And you will never guess but I was 1 hour late in uploading my image to my blog and I have yet again missed out on submitting my card!!

Anyway, I made this birthday card for my niece Zali's who's 3rd Birthday was last week.

Cardstock: Bazzill Smoothies Range: Berry Sensations and Coconut Swirl
Pattern Paper: Kaiser Craft Mumma Bushka (old)
Stamp: LaLa Land Ballerina Marci
Accessories: Prima Hot Pink Pom Pom Lace, Flourish with a Bling: Pearls, Old Alphabet and Number Stickers
Other: Nestabilities: Lacey Circles and Cuttlebug Embossing Folder
Copic Markers: E50, E00,E17,E18,R81,R83,YG17. Clear Spica Pen


Although I missed out on submitting this card on the Mojo Monday Challange, but I am going to submit this card to the LaLa Land Customer Challange.

Thanks...Jules

Sunday, January 09, 2011

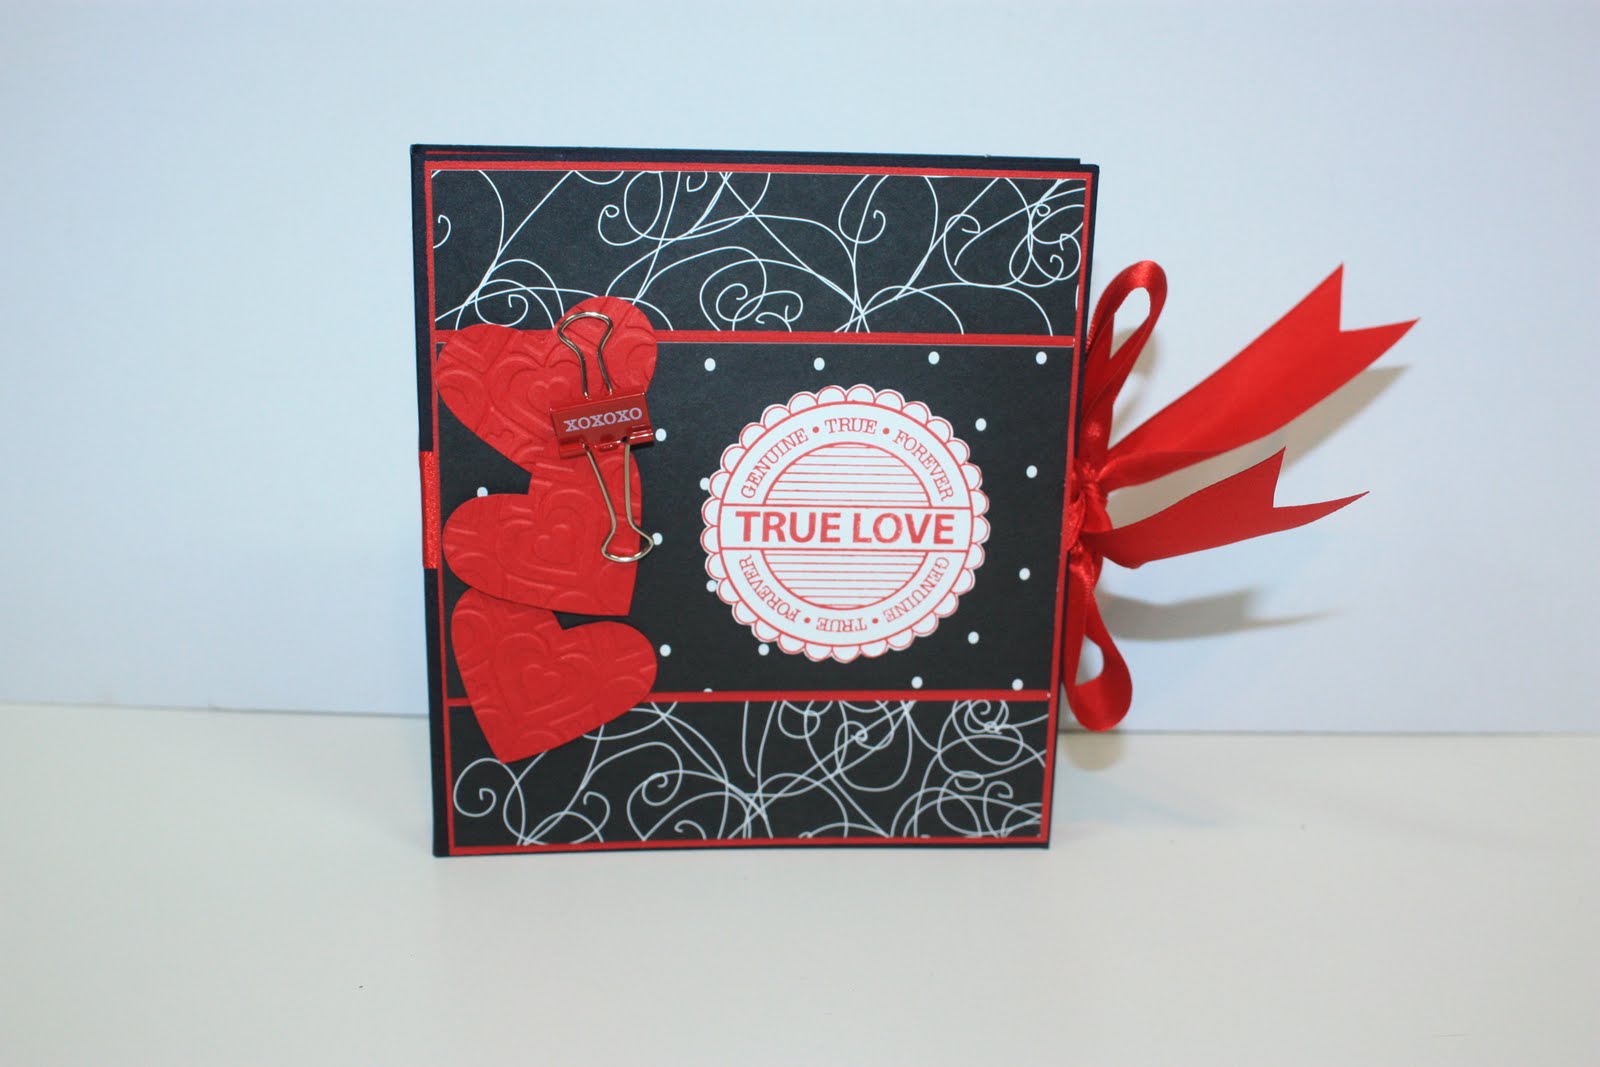
Valentine's Day Coupon Book Class


You are invited to spend a day of fun and creativity with like minded people, whilst making this gorgeous Valentine's Day project for that someone special in your life.

Sunday 23 January 2010 from 10am
Cost is $35.00 per person

Cost includes materials to make this stunning project.
This Coupon book contains individual Coupons that you can make as personal as you choose.


In this Advanced Class you will learn some great new techniques and each person will get a photographed instruction sheet to take home so they can reproduce this project for many other occasions.

There is quite a bit of measuring and scoring in this class, but is suitable for Beginners right through to the Experienced Crafter.

Each customer is required to provide their own Basic Tool Kit which should include: strong double sided tape, glues, pencil, rubber, ruler (with inch measurements), paper trimmer, craft knife, bone folder, foam dots.
If you have a Score Pal or Scoring Blade for your Paper Trimmer, please bring that.

Seats are Limited so bookings are essential. Please Call

Creations in Paper
Shop 3/166 Main Street
Montville QLD 4560
PH: 07 5478 5494

The original idea came from a similar project that Angie Hunt posted on her blog, Scrap Girl. She made a adorable coupon book for a christmas gift and I thought the same idea could be used as a Valentine's Day project. Thanks Angie.

Project Life...

Most people who know me know that I started my creative journey as a Scrapbooker. But over the years cardmaking has certainly taken up more of my time then Scrapbooking. I still love taking photos and I keep telling myself that I will get around to finishing some albums but there just never seems to be enough time or hours in a week do this.

I started with Creative Memories and was even a consultant, but soon realised that there was a whole other world out there to do with Scrapbooking, and much bigger than Creative Memories.
One of my favourite Scrapbookers was and still is Becky Higgins. I used to order magazines and books from America if Becky was published in them and I also had her Creative Fonts that she deisgned. Over the years I have still followed Becky and loved her regular articles in Creating Keepsakes Magazines, and more recently started following her blog.
Last year she released a Scrapbooking Project Kit called Project Life. I really thought long and hard about getting this and thought this would get me back into scrapbooking and maybe get some of my thousands of photos off the computer, but when I opened Creations in Paper, unfortunately this project got pushed to the back of my mind!!

Anyway, on New Years Eve when I was home sick and laying on the couch blog surfing, I thought I'd check in and see what Miss Becky Higgins was up to and her Project Life Project Kit came up again.

Scrapbooking has certainly changed over the years and I would still love to be able to get in and finish albums but for me what I think has caught my eye with this is the simplicity of the whole idea and it is a start for me to get back into Scrapbooking.
I followed the link to the Supplier of Project Life for Australia/New Zealand and I have ordered my Kit. I know the year has already started but I am waiting paitently for my kit to arrive so I can make a start.


So what is Project Life?Project Life simplifies how you document life and preserve memories. Simply pair your photos and journaling with the striking, pre-designed components from the kit and you'll end up with a stylish masterpiece that represents your life or whatever occasion you choose to record. With Project Life's beautifully simple, all-inclusive format, deciding what supplies to use will become obsolete, leaving you more time to experience life.

There are 2 Kits to Choose from:


I have order the Turquoise Kit. I will be back when my kit arrives to show you more... Jules

Saturday, December 25, 2010

Gift Ideas and Packaging

Here are some gift ideas and packing I used this Christmas for family and friends.

For the girls who work in the office with Anthony, I brought these Christmas Mugs and filled them with some of my yummy homemade Rocky Road.
Added a handmade tag and wrapped in some clear cello and added a christmas ribbon! Simple and inexpensive if you need to make a few!


And just using some plain white gift bags, I added some pretty christmas papers (most of these were off cuts, a great way to use up leftover papers) a nice sentiment stamped onto some pain cardstock then a few dies. Some of them I also made handmade tags and just added them to the handles with a little ribbon.


Wishing you all a very Merry Christmas today. Have a lovely day with family!
Jules xx

Tuesday, December 21, 2010

Die Namics by My Favourite Things

My Favourite Things: Die Namics
If you have been in store over the past few months, then you have have seen our range of Die Namics. These have been so popular.
The Die Namics will go through many of the cutting machines on the market today.
Below is the correct stacking of plates to be used in either your Cuttlebug or Big Shot.
Cuttlebug
Material: card stock
Stack (from top to bottom)
A plate, B plate, card stock, die [cutting side down], C plate

Big Shot
Material: heavy weight card stock
Stack (from top to bottom)
cutting plate
die
card stock
cutting plateplatform (completely closed)

These dies cut as well as emboss. Not only will they cut through paper and cardstock but listed below are other materials in which the Die Namics can be used.
List of materials Die-namics will cut:
* Card stock
* patterned paper
* THIN chipboard
* 1/16" cork
* felt
* bubble wrap
* acetate
* photo magnet sheets
* sticky-back canvas
* fabric
* denim
* sandpaper
* 2 mm craft foam
* Creative Imaginations wood veneer paper
* Gift Bag
* Velvet paper
Below are some of the Die Namics available in store now.


Thanks...Jules

New Instore Update

Score Buddy
The SCOR-BUDDY is a mini portable scoring tool provided by Scor-Pal. It is great for making Folds to make homemade cards. The Scor-Buddy is a mini version of the very popular Scor-Pal. With its smaller size it is a card makers dream. It has grooves every 1/4" across the board, plus 1/8" for the first and last inch of the board. It measures approximately 9 x 7.5".
It is ideal for invitations, cards, small gift boxes and so much more. It comes with a free Scor-Tool in a snap-in holder and its own faux suede storage tote.
It is lightweight and portable, great for taking to your crops.


October Afternoon
The lastest 3 Collections from October Afternoon are in store in 8x8 Paper Pads.
I have the entire 12x12 Paper Collection in Modern Homemaker.


Thanks...Jules

Thursday, December 16, 2010

Christmas Cards

So I thought I had better make a start on some Christmas Cards (actually I made these a few weeks ago, but haven't gotten around to posting them or actually sending them out to anyone yet!)
I used the same template for the Criss Cross Cards that we were taught a few weeks ago by Sharon in an Advanced Card Class in store at Creations In Paper.
I used some left over scrap Tinsel and Twig Papers that I had laying around and matched them with some Crimson and Spinach Textured Cardstock.
The die is the Faux Crochet Border from Die Namics is from My Favourite Things. I love these!!
I've coloured my Magnolia image, which Sharon lent me and I coloured her with Copic Markers.
The sentiment is from a Papertrey Ink Christmas Stamp set from last year (or the year before)which I just love and have used them over and over! Stamped in SU Real Red Ink.


Thanks...

Wednesday, December 15, 2010

Happy Birthday

Last week was Anthony's 40th! So the card I made him, I wanted it to be a little bit special and I've mentioned numerous times that I struggle with Male Cards.
I recently purchased some stamps from La La Land Crafts but was unsure where to start, so for some ideas I went to La La Land Crafts and searched for ideas using Star Boy Luka Stamps set. There were a few samples here that I got the main idea from for the card.
So using the products I had on hand, I made this cute easel card using the Star Boy Luka stamp, coloured with Copic Markers and the papers are from Basic Grey's Wander 6x6 Paper Pad.
I didn't have a stamp that said what I wanted, so I just used some mini lettering stickers I had.
The 40 is out of Chipboard and I painted with some Smooch. The stars are cut using a Nested Star die from My Favourite Things Die Namics.
I know this card is kinda cute and probably not really suited to a 40 year old, but he really liked it and that's all that matters!!


For the table settings for the tables, I wanted to do something a litle different, so I approached Donna the Clown who does Balloon Art. Asked if she had any car designs that could be done and this is what she had. So in the middle of the tables were some balloon cars. They were a huge hit not only with the little boys!!


It was all about having fun!!
Thanks...

Tuesday, December 07, 2010

Advanced Card Class Cards

A few weeks ago I was lucky enough to be able to sit in on one of Sharon's Advanced Card Classes in store.
It was a lot of fun to actually sit and make cards for myself and have someone else telling me what to do!!
Below are the cards we made in the class but I haven't got my coloured images on these. I thought I had taken photos of these completed cards but clearly not! so I will post them when I photograph them.

Anyway, the two cards we made, one was a Criss Cross Card and the other was a Easel Shaker Card. The papers we used were from Echo Park and The Girls Paperie


These were stunning. And I was happy with the final result.

This was Sharon's last Advanced Card Class for this year in store but she will be back in January with a Valentine's Day Class!!

Thanks...Jules

DECEMBER SPECIALS

During December call in store to receive:

20% OFF ALL CHRISTMAS PAPERS
10% OFF ALL CHRISTMAS STAMPS


PURCHASE 10 COPIC MARKERS AND RECIEVE A FREE CASE


Thanks...Jules

Wednesday, December 01, 2010

December Creative Card Kit


The Creative Card Kit is a monthly kit dedicated to bringing you the latest products on the market and to take you out of your comfort zone of purchasing the same style and colours of products all the time.
Creative Card Kits are $20.00 (if purchased in store) or $23.50 (mailed out)

December’s Kit includes:
•12 sheets of A5 textured Zsa Zsa cardstock: Colours Include
Vanilla, Denim, Lake, Chartreuse, Milk Chocolate and Algae
•12 sheets of 6” x 6” Double sided Pattern Papers from Basic Grey's Marjolaine Collection
•4 meters of coordinating Grosgrain Ribbons and Prima Pom Pom Trim
•Assorted colours and sizes of flowers
•Pk of Chocolate Pearls
•Sheet of Cosmo Cricket Tiny Type Alpha’s

Each Creative Card Kit includes enough coordinating Cardstock, Pattern Papers and Embellishments to make at least 12 beautiful hand made cards or projects.
By purchasing the Creative Card Kit all the hard work has been done for you!!

When you get your Creative Card Kit home, you can start making gorgeous handmade cards and/or projects just by using your Stamps and Inks that you already have.

These kits are available in store or through the PayPal button on my blog at
the bottom of this post.

Also included with each Creative Card Kit is a photo of the Sample cards I have made using this kit.
To view these samples in more details, during the month I will post the sample cards here on my blog.


December Creative Card Kit


Thanks...Jules

LinkWithin

Related Posts with Thumbnails